My first Salesforce CLI Plugin Part 4—The new sf plugin architecture and refactoring the project
This is the 4th of part of this series, where I document my journey to creating my first Salesforce CLI plugin.
fflib_UnitOfWork and fflib_Service would be grouped inside a fflib folder in an sfdx project directory.Read part 1 to get more info on the use case and rationale.
You can read the previous parts here:
Where are we
In the previous article, I talked about testing the plugin logic using Jest. At this point, I'm confident that all the logic works as expected; I also tested it manually with a real sfdx project.
Now, I need to create the actual plugin; remember that up to this point, I've been working on a simple NPM package as I wanted to avoid getting dragged down by details of how the plugin architecture works, etc.
So let's talk about how that's going.
New SF plugin architecture
In case you are not aware, Salesforce is moving away from the sfdx CLI, and is currently implementing the new sf CLI. The same is true for plugins; they should be created under the sf CLI and their architecture has changed.
There's also a new developer guide to building sf plugins, currently hosted on GitHub.
Creating the plugin
To create the plugin, I used the sf dev generate plugin command, which asks you a few questions about your plugin and generates the entire directory with all the files ready to go.
One thing to note is that this directory has many more files compared to the old plugin architecture.
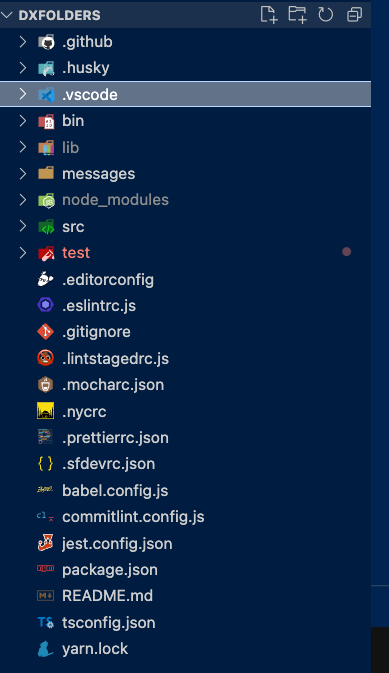
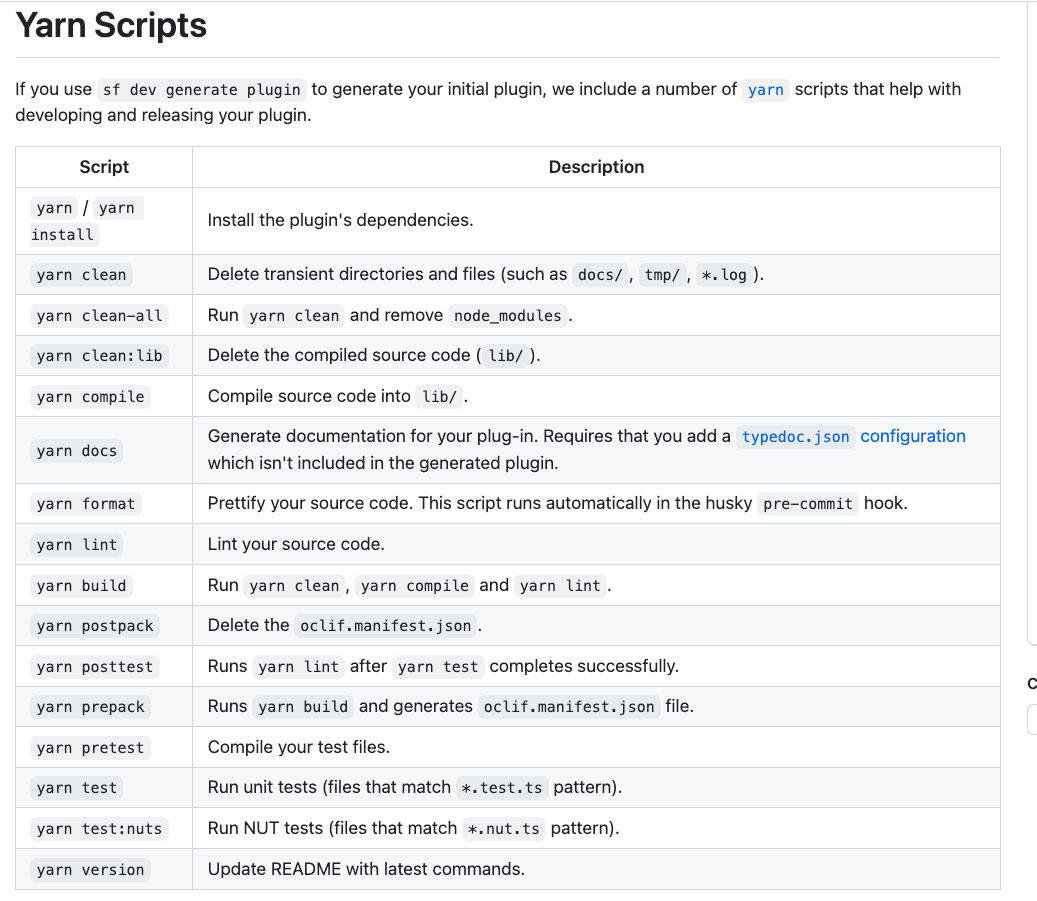
This is because this new architecture comes with built-in support for CI/CD, so there's a ton of configuration files and yarn commands that support that process.
Once the basic structure of the plugin is created, you can create new commands using the sf dev generate command --name [name:of:command] command.
In my case, I created a command called dxdir:arrange, which should be called like this sf dxdir:arrange. Again, all the files needed to run this command were automatically generated, which is awesome
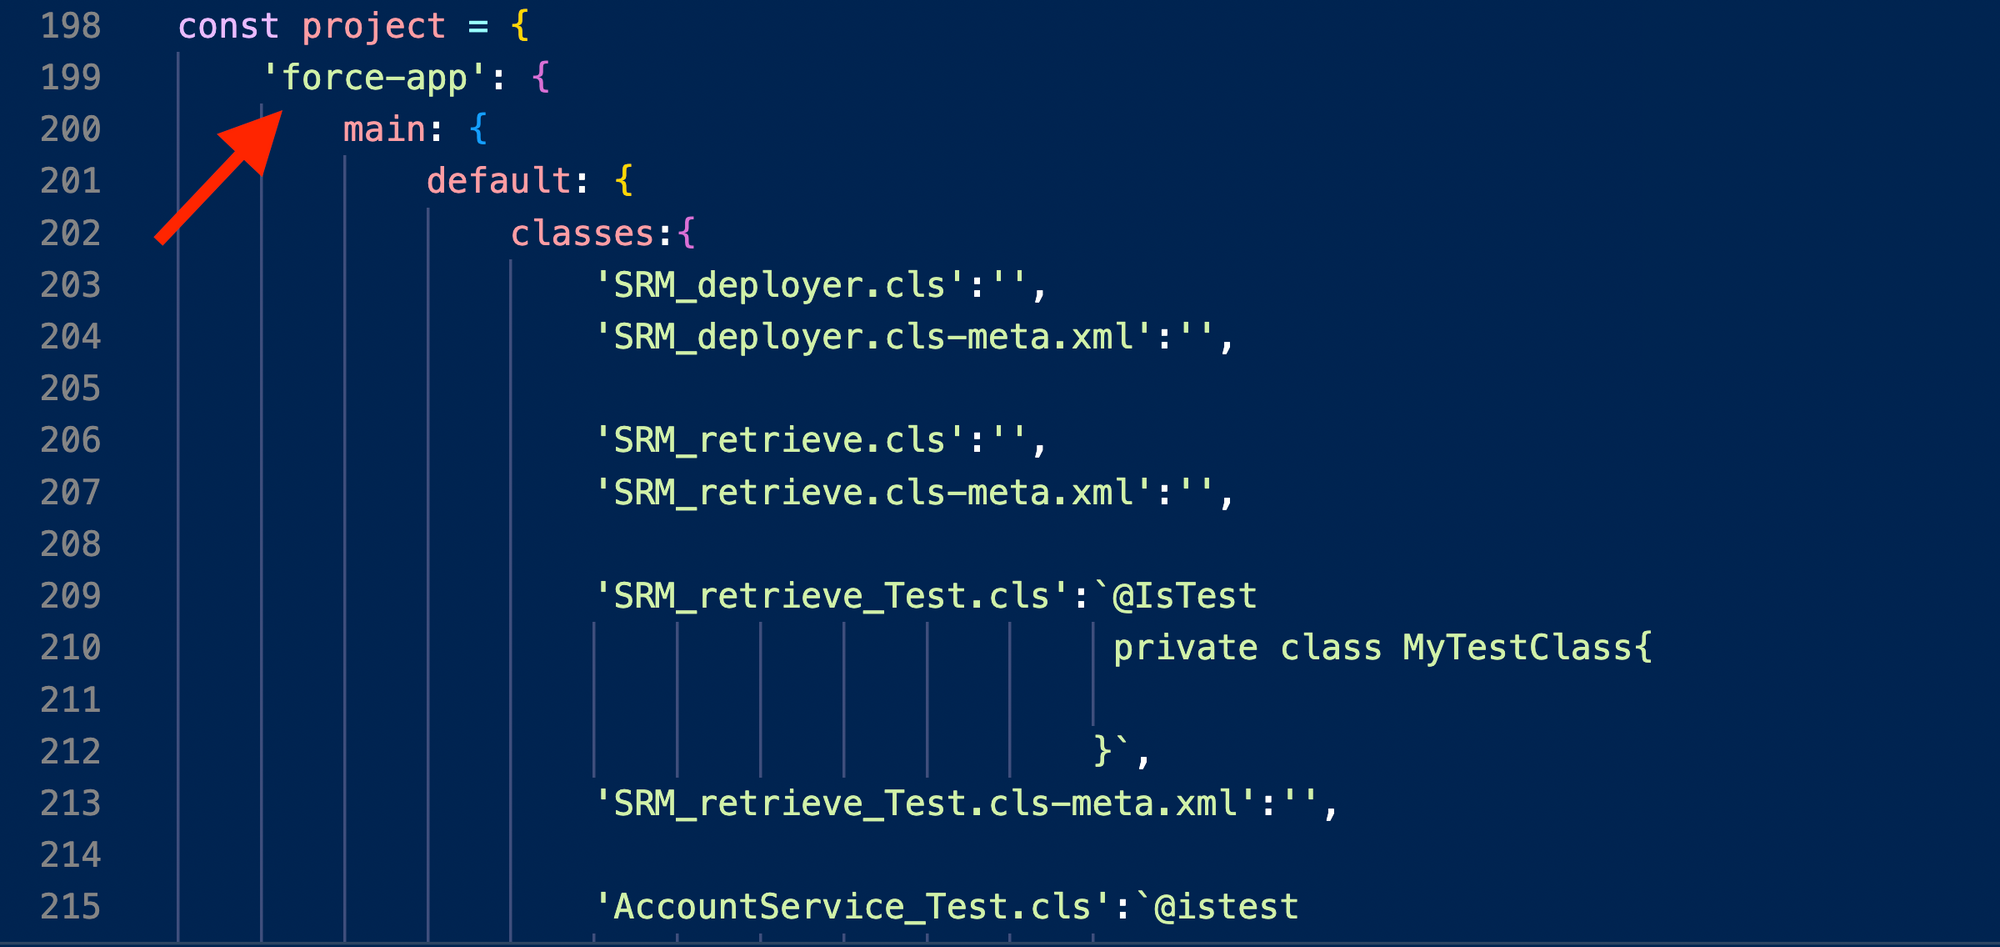
Finally, remember that the code is meant to act on the context of a folder where the apex classes reside, and by default it's assumed to be force-app/main/default/classes.
For this, I created a flag so that I could call the command like this sf dxdir:arrange --apex-dir [your path]
Again, the new sf CLI provides a handy interactive command to create flags; the sf dev generate flag command.
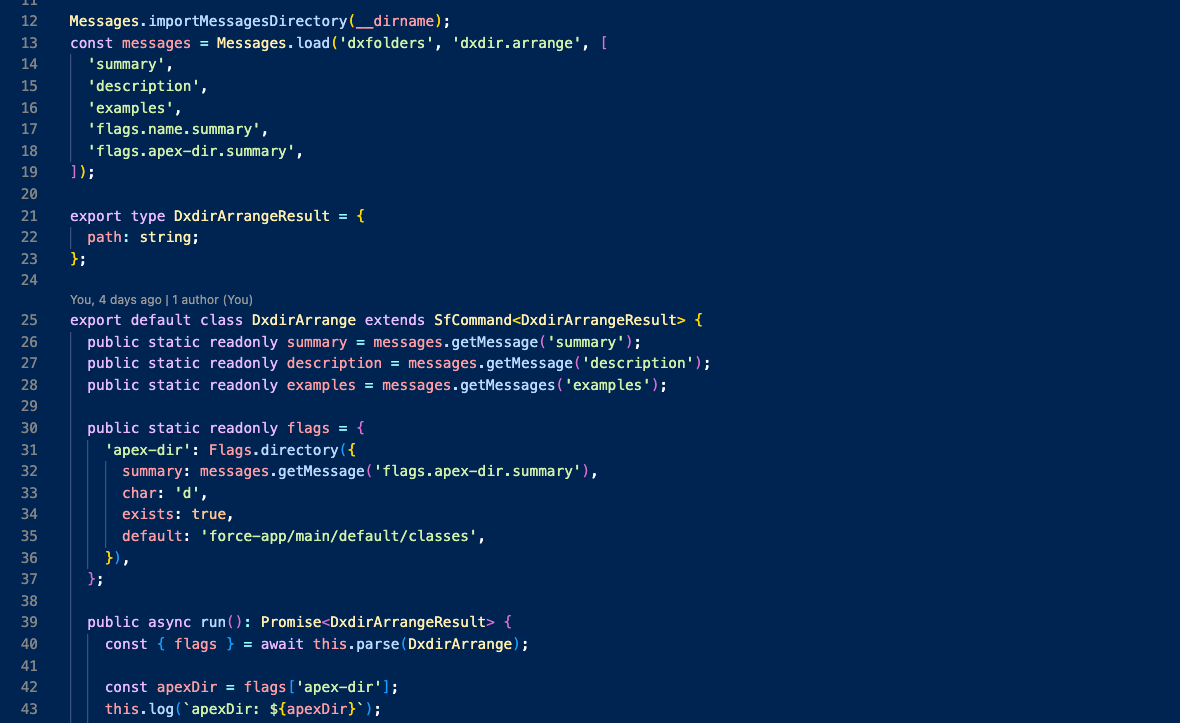
I created a flag called apex-dir, of type directory and configured it so that it automatically verifies if the directory actually exists or not (I didn't configure any of this manually; the CLI asked me these questions when I ran the generate flag command.
This resulted in the following flag
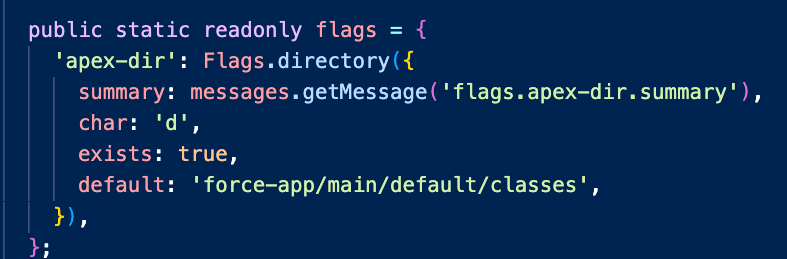
The exists property verifies that the directory actually exists, and there's also a default value, which I set to the default apex class directory.
Transferring the code
The final step was to move the code from the original NPM package into this new folder. This wasn't too easy, and I had to change a few things to get it to work, but it did in the end :)
Passing the flag
Once I copied all the existing code into the command file, I modified the run method to call the original code, and pass the flag that points to the folder where the classes reside
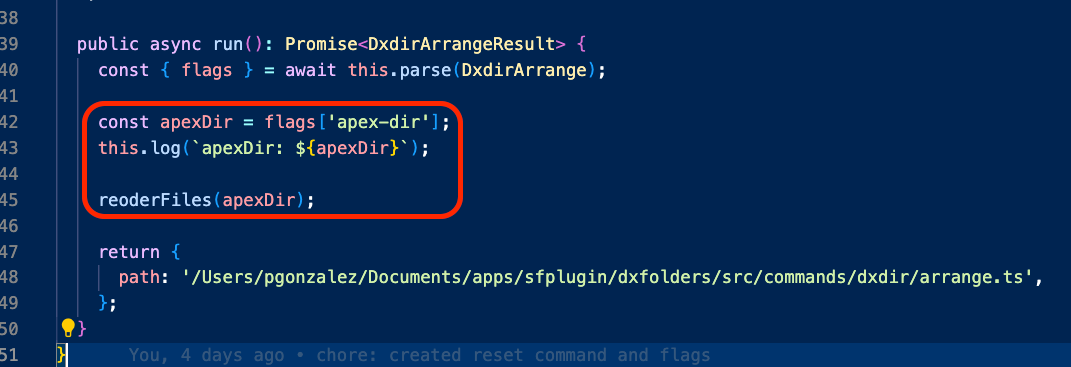
Here, reoderFiles is the original function I wrote in previous chapters; the difference is now we use the flag passed to the command. You can see we extract the value of the flag using the flags[apex-dir syntax.
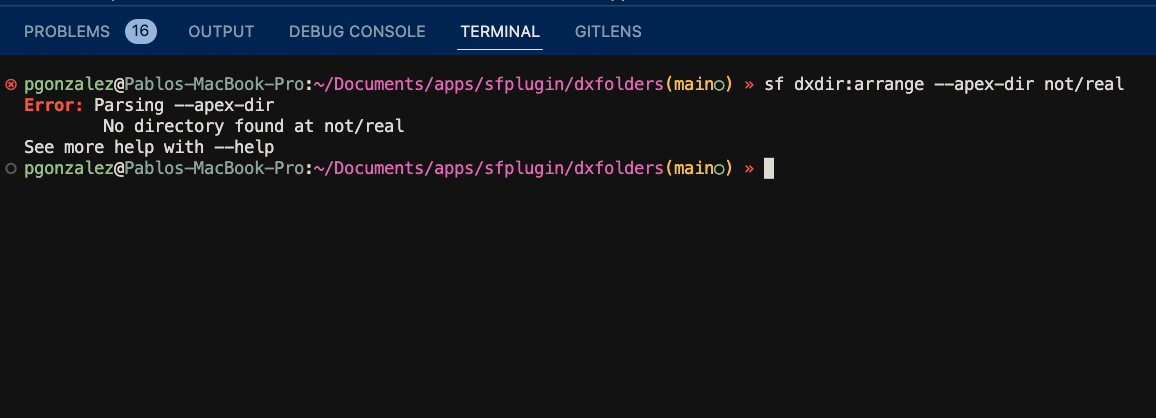
As mentioned earlier, if the directory doesn't exist, the flag automatically throws an error, which is great because it means I don't need to add more code to validate that myself.
Getting the tests to work
When you generate a new command, the CLI also creates a set of tests files for that command. Here's what a default test looks like
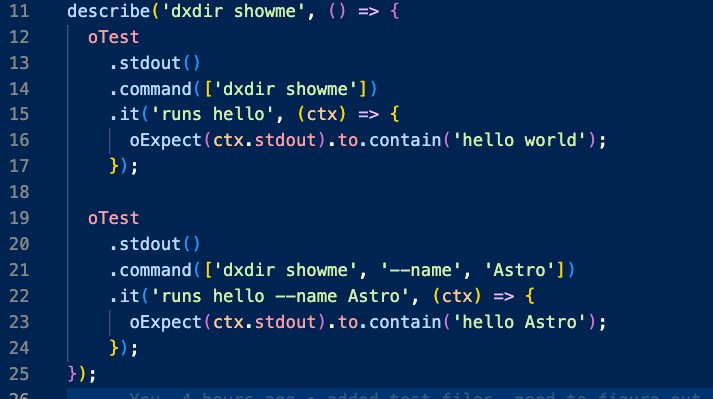
Basically, this test says that when the command dxdir:showme is run, we can expect the standard output (the terminal) to print something that contains the words hello world.
This is very different from how I wrote my tests, as covered in part 3. Also, these tests are written with the testing library Chai, instead of Jest (what I used).
So here's what I did to configure the plugin to run Jest tests my way:
1- Configure Jest to work with Typescript
2- Then, I created a new NPM command called jest-test that would call Jest.
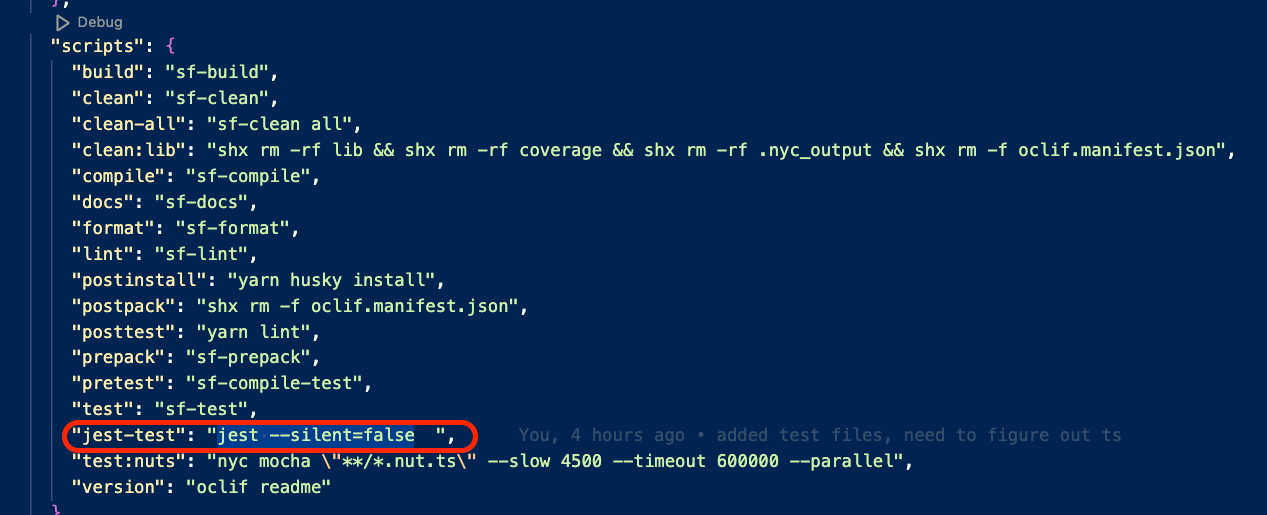
3- Then, I had to modify the pre-push husky file (which runs before I push the code to a remote repository) to run the new NPM command.
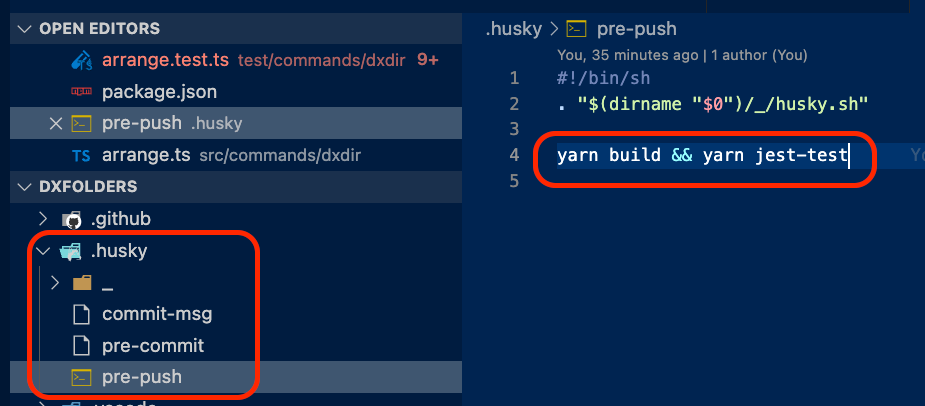
This basically means that when I run git push, the yarn build and yarn jest-test commands will run, which build the code (this is a typescript project) and run all tests; if everything passes, the code is pushed to the remote repo.
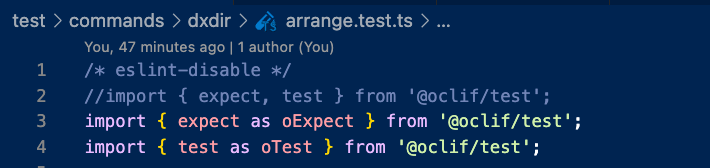
4- Finally, the sf CLI comes with built-in test and expect functions from Oclif (the project that supports the CLI) that you are meant to use to test if the output of your command is what you expect.
These functions had the same names as those from Jest, which resulted in a bunch of weird errors, such as test not found or expect is not a function.
I want to be able to use these built-in functions in the future (not sure yet how) while still using the standard Jest functions with the same name.
What I did was give them an alias of oTest and oExpect. This way, I can use Jest's test and expect functions, and in the future, when I want to use the Oclif ones to verify the terminal output, I can use oTest instead
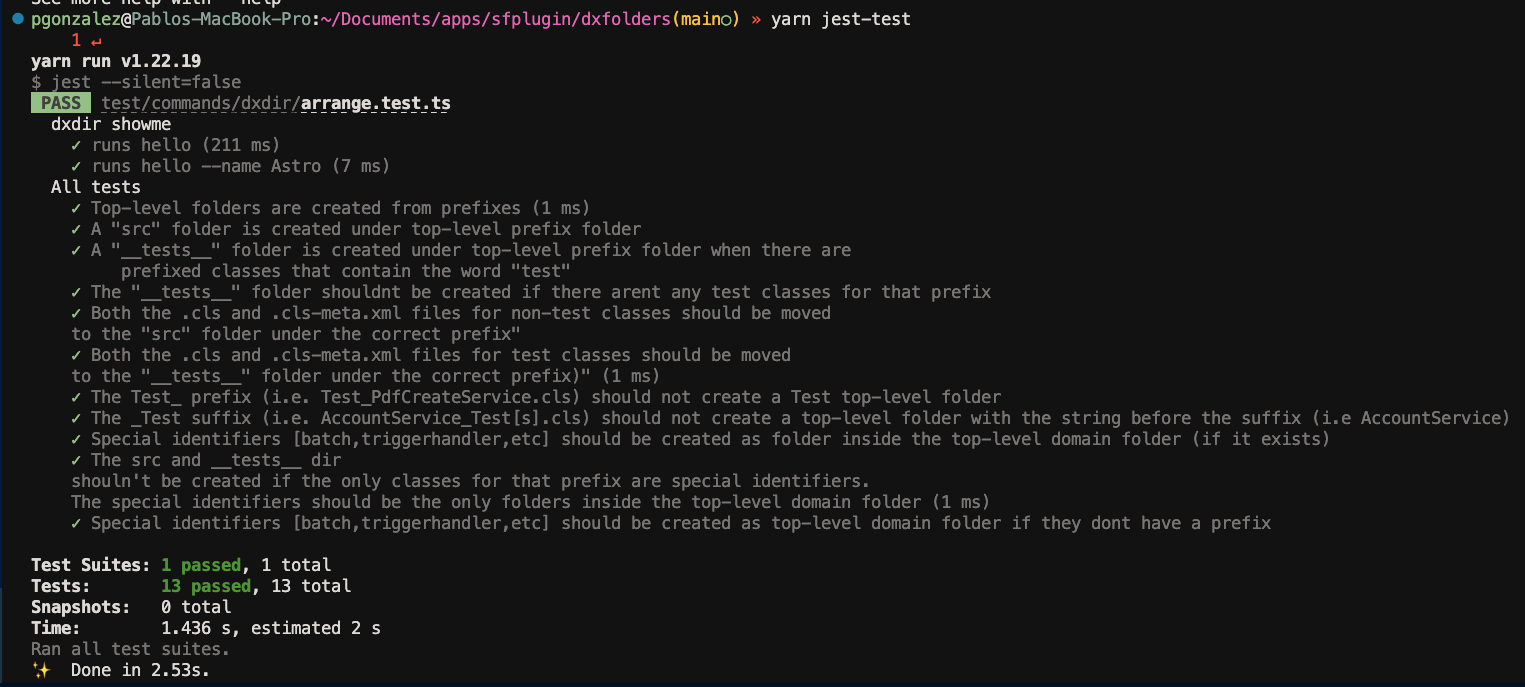
With all that done, I can now run yarn jest-test and all my tests pass again~
What's next
I think this series is long enough, so the next chapter will be the last chapter; it'll probably be a summary of some new things I added, such as new flags or new commands, and an overview of how to build and publish the plugin.
Thanks for following my journey!